Tools & Resources
Luke & Ashley Resources
We are a multi-brand company offering brand photography for businesses & photography education for other photographers.
Close
Playbook Podcast
Learn With Luke & Ash
Search by Color:
Hi there! Welcome to the Luke & Ashley blog, a journal about our lives, our beautiful couples, and their stories we get to tell. Stay a while and do say hello if you please!
Welcome to our blog
Free Downloads:
Categories:

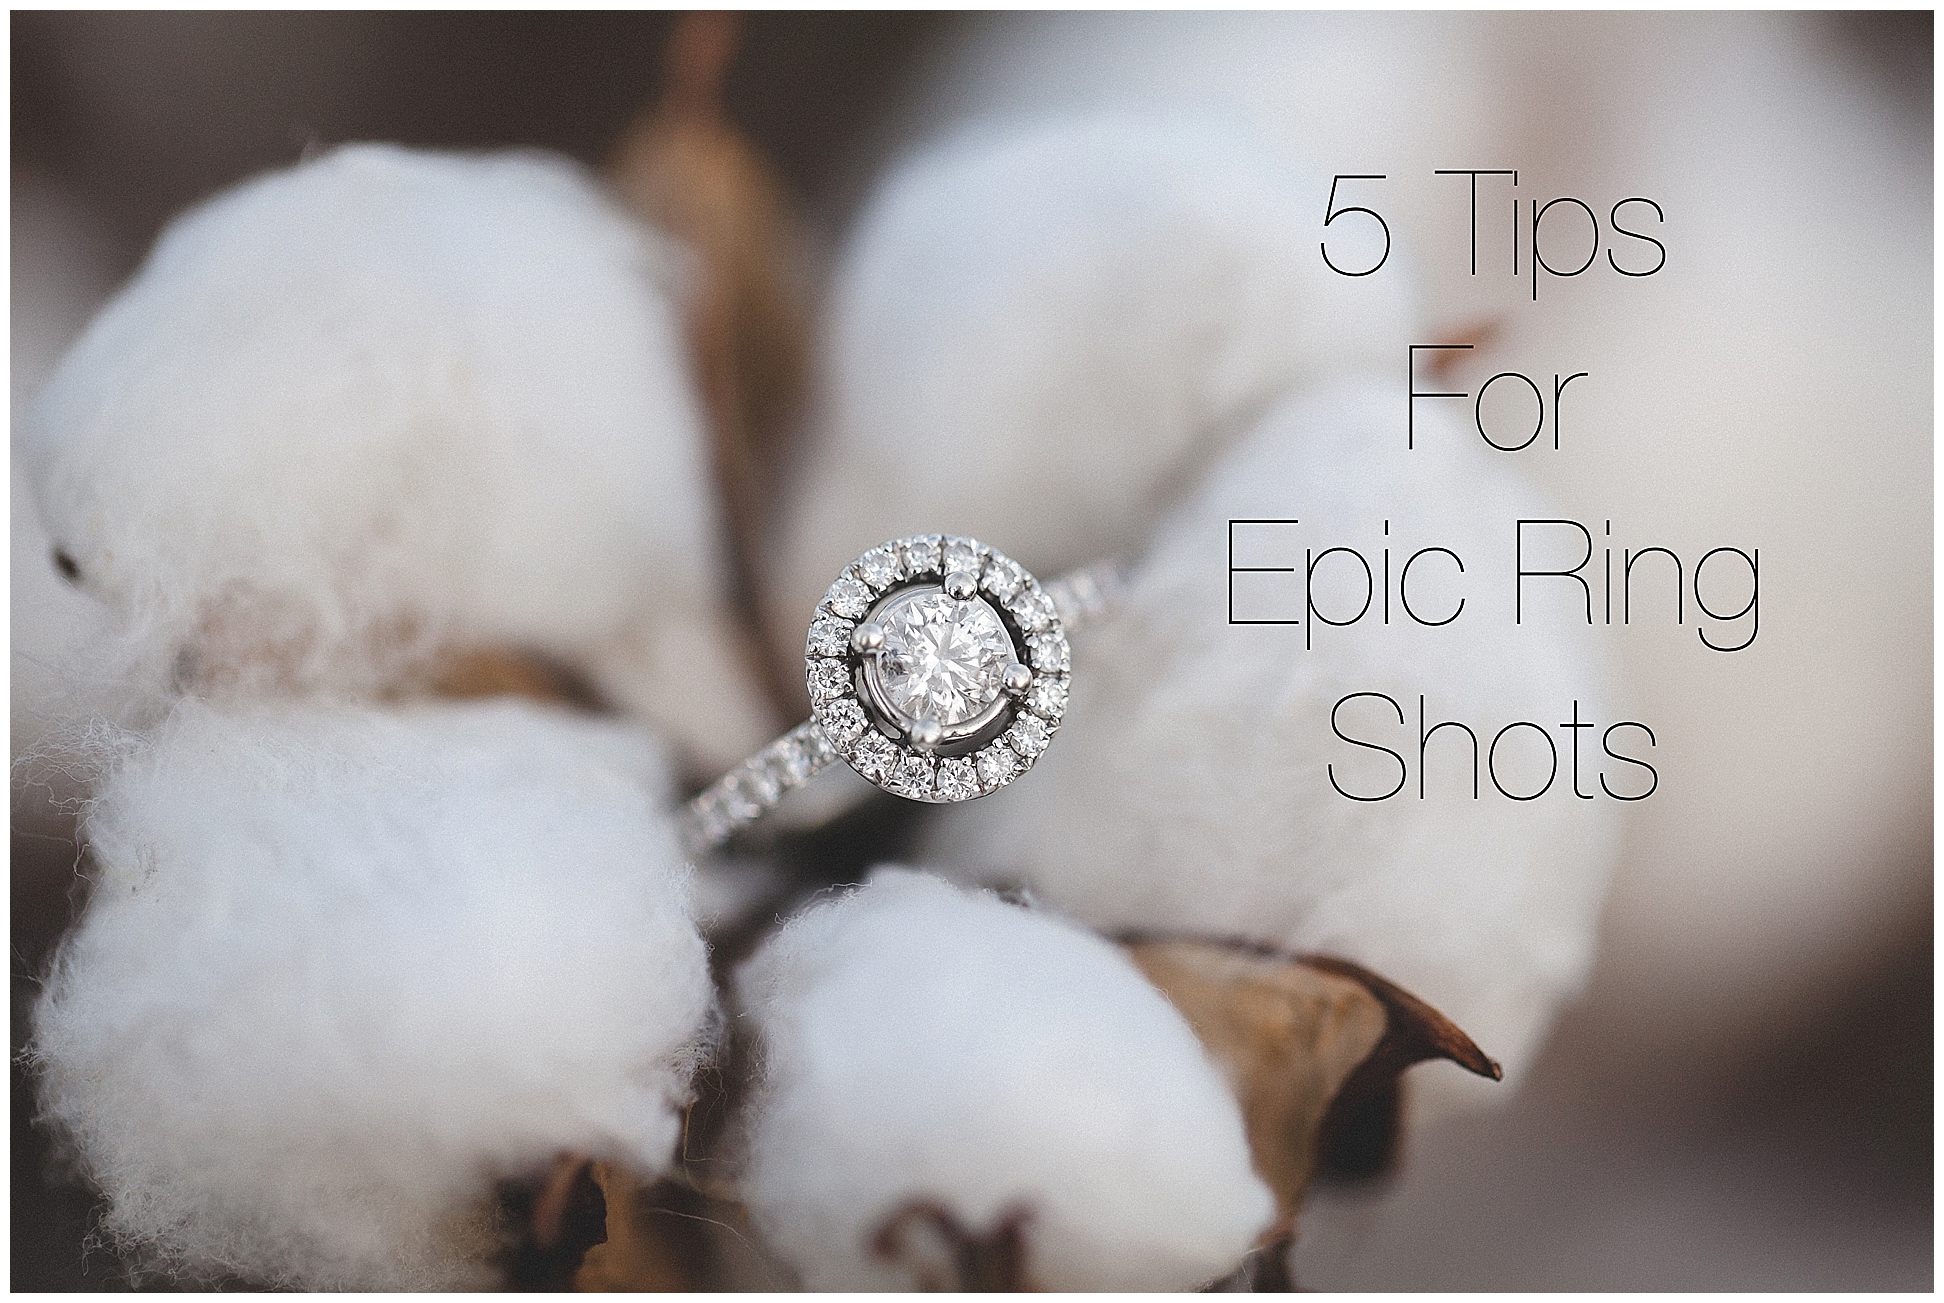
So as I am compiling some of our favorites from this year… It was a must to highlight the bling! Wedding rings/Engagement rings are seriously so much fun to photograph!
Putting such a fancy shiny ring with surrounding natural elements always makes for a killer picture!
Here are 5 Tips for Epic Ring Shots!
1. Shoot with a high aperture. Shooting F8 and above will ensure your ring is in focus. We Love shooting portraits and details wide open to get that nice creamy look. And when we first started shooting rings we made the mistake at shooting wide open. However when shooting rings if you shoot wide open then you will only get a portion of the ring in focus. So be sure to increase your aperture! Because you are shooting so close and with a macro, your background will have nice creamy bokeh regardless. ( This is not the Golden Rule. Luke will sometimes shoot wide open and get an AMAZING shot. This is just works for me).
2. Focus on the prongs! I learned this while reading Amy & Jordan’s blog awhile back. They are a God Send to us at times! The Prongs are closer to you than the diamond. Focusing on the prong and shooting with a high aperture will ensure that the diamond is in focus!
3. Use what you have! When I say that I am talking about light! Sometimes it is too dark and we need some light to add that sparkle to the ring. Luke or I will pull out our cell phone and use that light to add some sparkle.
4. Speaking of light, I have noticed that because diamonds catch light so easily, it easy for them to look blown out. This can sometimes be hard to recover in post. To avoid this we will turn the ring so that the light source is on the side of the ring. This will usually still give us some sparkle but won’t look overly highlighted. Also underexposing just a tad helps as well. You can always bring up the exposure in post. Remember that is better to bring up some exposure than trying to recover details in something that is blown out.
5. Another tip that I have learned that is not my own is done in post. Katelyn James gave some awesome advice that we now apply to almost every ring shot! Not only do we add sharpening but we will take our brush and take out all saturation on the diamond. This makes the ring “pop” so much more! Thank-You Katelyn for helping us achieve this!
These tips have helped us produce some gorgeous ring shots that we and our clients love!
Here are some of our favorite ones from 2014!
You can see all our other 2014 Favorites Here:


It’s All About The Bling! { 5 Tips for Epic Ring Shots}
Leave a Reply Cancel reply
Download our list of best vendors
You might also love...
Hampton Roads, Northern Virginia & Worldwide Wedding Photographers
@lukeandashleyphotography
Follow along on Instagram
As seen in
Looking for wedding tips, inspiration & more?
Tell us where to send you the goods


Awesome ring shots guys! Makes me want to take our the 100mm 2.8 and play with it again! (Why won’t it fit on a Contax grrr) These are seriously fantastic though. Great blog!
Thank-You guys! We love our Macro lens!
I use Katelyn’s tip also and it can be a lifesaver for a shot sometimes!
I agree Kelly! It’s amazing how it can make a ring pop!
These are fantastic tips for creating great ring shots! I actually didn’t know about the desaturation trick!
Yes, When I learned that it made a big difference!
I have always loved your ring shots! And your brides have some nice rocks!
Thank-You Dani!
Your ring shots are incredible!! So crisp and sharp!
Thank-You so much Krista!
These are awesome tips! And your ring shots are absolutely gorgeous!
Thank-You Erin!
[…] Favorite Rings […]
[…] Favorite Rings […]
[…] Favorite Ring Shots […]
[…] I know last year I went into some ring shot tips and I won’t bore you here by repeating them. You can always read them here. […]